
DSLR vs Bridge Camera for Bird Photography: Which Should You Buy?
Compare DSLR and bridge cameras for UK bird photography, covering reach, autofocus, sensor size, weight and cost so you can choose the right camera for your birdwatching.
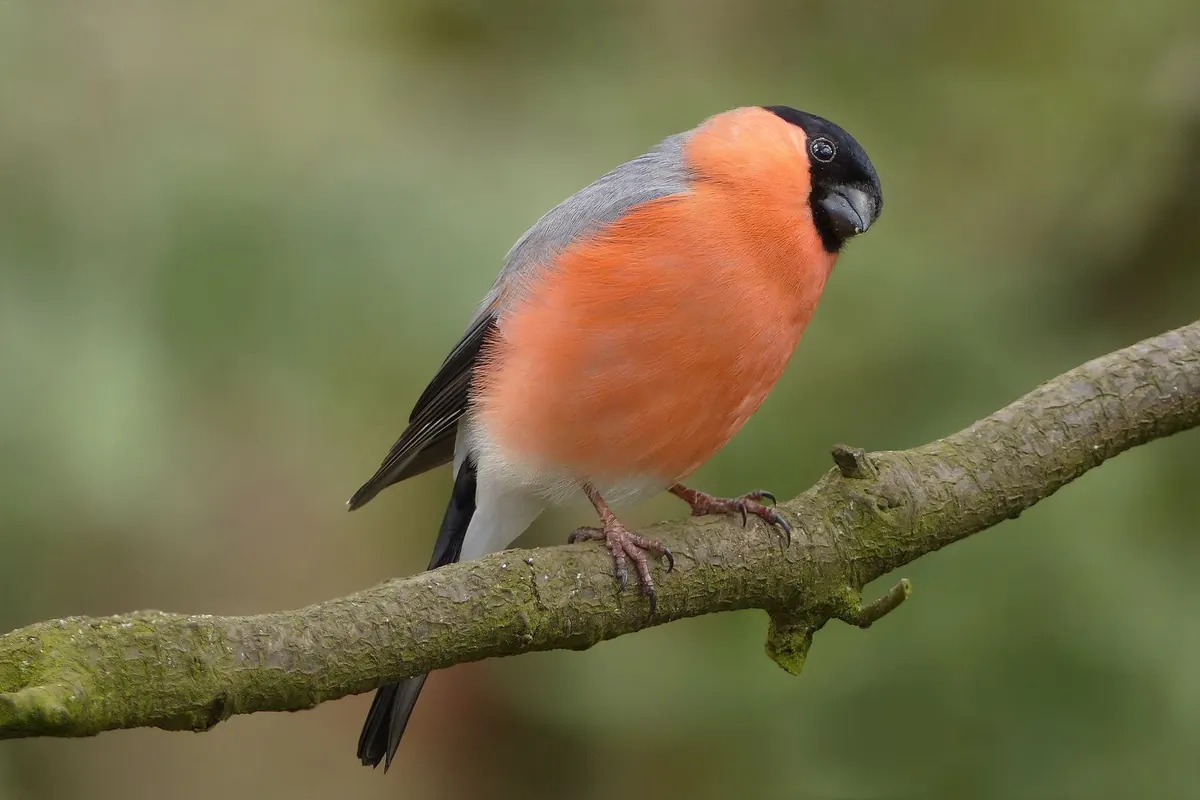
Most bird photographers reach a point where a phone or a small compact no longer cuts it. The bird is too far, too fast, or the light is too flat. Two camera types come up again and again: the DSLR and the bridge camera. They look similar in a shop window, but they solve the problem in different ways. Choosing well comes down to reach, autofocus, sensor size, weight and cost.
What a DSLR and a bridge camera actually are
A DSLR uses a mirror and an optical viewfinder, and it takes interchangeable lenses. That means you can fit a wide-angle for landscapes, a macro for insects, or a long telephoto for birds. The sensor inside is usually APS-C or full frame, which is much larger than the sensor in a typical bridge camera.
A bridge camera has a fixed superzoom lens. You cannot change it, but it often covers an enormous focal range in one body, from wide-angle to extreme telephoto. The sensor is small, usually 1/2.3 inch, though some premium models use a 1-inch sensor. You compose through an electronic viewfinder or the rear screen.
Reach: the headline difference
Bridge cameras win on paper. Many offer a zoom range equivalent to roughly 24–1200mm, sometimes more. That sounds ideal for estuaries, reservoirs and seawatching, where birds rarely sit close. A DSLR needs a long lens to compete. A 300mm lens on an APS-C body gives a field of view similar to 450–480mm on full frame, which is useful but not extreme. To match a bridge camera, you may need a 500mm or 600mm lens, or a 150–600mm zoom.
But reach is not only about focal length. It is also about how much you can crop. A bridge camera with a tiny sensor quickly runs out of detail when you crop hard, because noise and smudging appear. A DSLR with a larger sensor can crop more deeply and still hold feather detail, provided the lens is sharp and your technique is good.
Think about your usual patch:
- Garden and woodland birds: a 300–400mm lens on APS-C is often plenty, especially if you use a hide or a feeding station.
- Estuary and farmland: 500–600mm, or a bridge superzoom, helps with distant waders and raptors.
- Seawatching: a bridge camera gives reach cheaply, but sea spray, poor light and atmospheric haze will test any camera.
Fieldcraft beats focal length. Getting 5 metres closer usually improves an image more than adding 200mm, and it costs nothing.
Autofocus and speed
DSLRs traditionally use phase-detection autofocus, which is quick and decisive, especially for birds in flight. A good DSLR and lens combination can lock onto a puffin, a peregrine or a flock of golden plover and track it across the frame. The catch is that AF coverage is often clustered around the centre, and lenses may need micro-adjustment to focus accurately.
Bridge cameras have improved, but they still tend to struggle more with erratic movement, busy backgrounds and low contrast. A small bird flitting in a hedgerow can confuse the AF, and the electronic viewfinder may lag slightly behind the action. Burst rates can be high, but the buffer fills quickly and the camera may pause while it writes to the card.
For perched birds, a bridge camera is often fine. For flight shots, a DSLR has the edge, provided you practise your tracking and use the right AF mode. Continuous AF, a single point or a small zone, and a fast shutter speed will serve you better than a scattergun approach.
Sensor size, light and image quality
This is where DSLRs pull ahead. A larger sensor gathers more light, so you can use higher ISO settings with less noise. That matters in the UK from October to March, when woodland is dim and estuaries are grey. A DSLR also gives you more dynamic range, which helps when a bird is dark against a bright sky, and it can blur backgrounds more easily to isolate your subject.
Bridge cameras with 1-inch sensors are noticeably better than those with 1/2.3-inch sensors, especially in poor light. Even so, they cannot match an APS-C or full-frame DSLR for clean detail at high ISO. If you mainly want identification shots, record images for a local bird report, or pictures for social media, a bridge camera can do a good job in decent light. If you want prints, low-light performance and room to crop, a DSLR is the stronger choice.
Weight, handling and cost
DSLRs are heavier and bulkier once you add a long lens. A body plus a 150–600mm zoom can easily run to two or three kilograms, which is a lot to carry on a long walk. You may need a monopod or tripod, and a comfortable strap or sling bag becomes essential.
Bridge cameras are much lighter and simpler. One camera, no lens changes, no dust on the sensor. They are easy to carry on a family walk or a cycle ride to the local reserve. The trade-off is slower zooming, more menu-diving, and usually less weather sealing. Battery life can also suffer because the electronic viewfinder and screen draw power constantly.
Cost is not just the purchase price. A bridge camera usually costs less upfront than a DSLR plus a long telephoto lens. A DSLR system grows with you, but each good lens is an investment. The used market can offer excellent value, though buy from a reputable dealer or a seller who allows returns. If you already own DSLR lenses, staying with that system often makes financial sense.
Which should you buy?
Choose a bridge camera if:
- You want one lightweight camera for walks, holidays and reserves.
- You mostly take record shots and identification images.
- You shoot in good light and rarely need high ISO settings.
- You dislike changing lenses outdoors or carrying a heavy bag.
Choose a DSLR if:
- You want the best image quality and low-light performance you can afford.
- You photograph birds in flight and need reliable tracking autofocus.
- You plan to build a lens collection over time.
- You are happy to carry more weight and learn the settings.
If you are buying new, also consider mirrorless cameras. The same arguments about sensor size, lenses and autofocus apply, and many manufacturers have moved in that direction. But a used DSLR and a good telephoto lens remains a sensible route into bird photography.
Practical buying and shooting tips
Handle the camera before you buy. Check the viewfinder, the zoom ring, the AF speed and the menu layout. For a DSLR, ask about shutter count and check for sensor dust. For a bridge camera, look for raw shooting, manual controls and a decent burst rate. A good lens on an older body often beats a poor lens on a new one.
Start with shutter priority for moving birds, around 1/1600 or faster for flight, and 1/500 for perched birds. Use auto ISO with a sensible upper limit, and keep the aperture wide open or stopped down slightly for sharpness. Learn back-button focus if your camera supports it. Most importantly, get closer using a hide, quieter clothing and patience.
A simple way to decide
Ask yourself three questions. Where do you shoot most often? How far away are the birds? What will you do with the pictures? If you want convenience and huge reach in one package, a bridge camera is a practical choice. If you want image quality, low-light ability and room to grow, a DSLR is worth the extra weight and cost. Either way, the best camera is the one you carry regularly and know how to use.
Photo: Pixabay / Pexels